
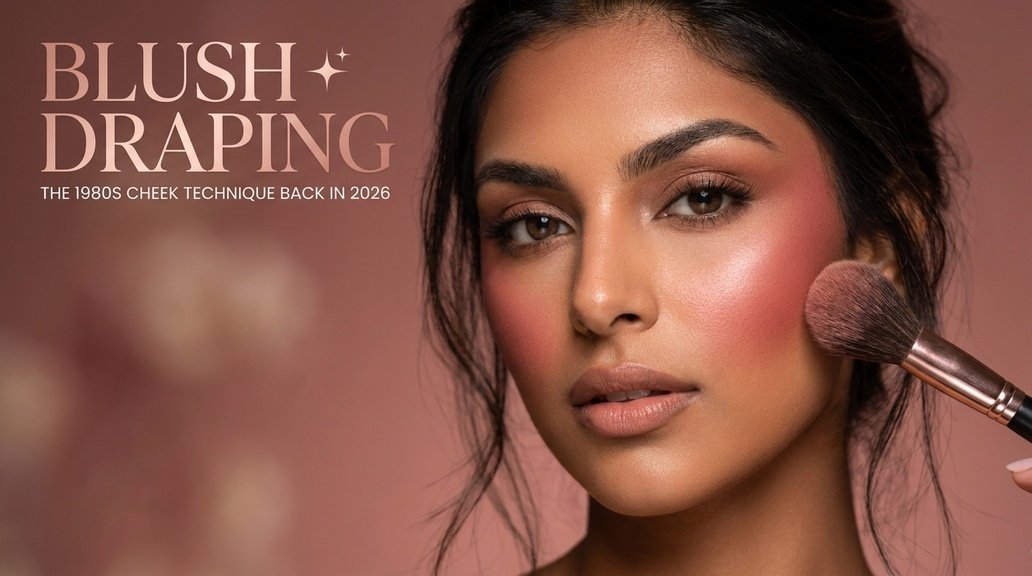
Blush draping is the makeup technique of 2026 that everyone from set stylists to weekend TikTokers is relearning, and it is the reason your regular bl
Blush draping is the makeup technique of 2026 that everyone from set stylists to weekend TikTokers is relearning, and it is the reason your regular blush suddenly looks flat by comparison. Instead of dotting colour on the apples of the cheeks, draping sweeps blush up and out toward the temples, so a single product sculpts the face, lifts it, and lays down a wash of colour at the same time. It doubles as a soft contour and soft highlight in one motion, which is exactly why the technique feels so efficient right now. Born on the runways of the 1980s and revived through a run of editorial covers this year, blush draping suits nearly every face shape once you know where to place it. This guide covers what draping actually is, why it is back, how it differs from ordinary blush and from bronzer contour, and how to wear it by face shape, skin tone, and occasion.
Reviewed by the BeautynFacts editorial team. Last updated: July 2026.
What Blush Draping Actually Is
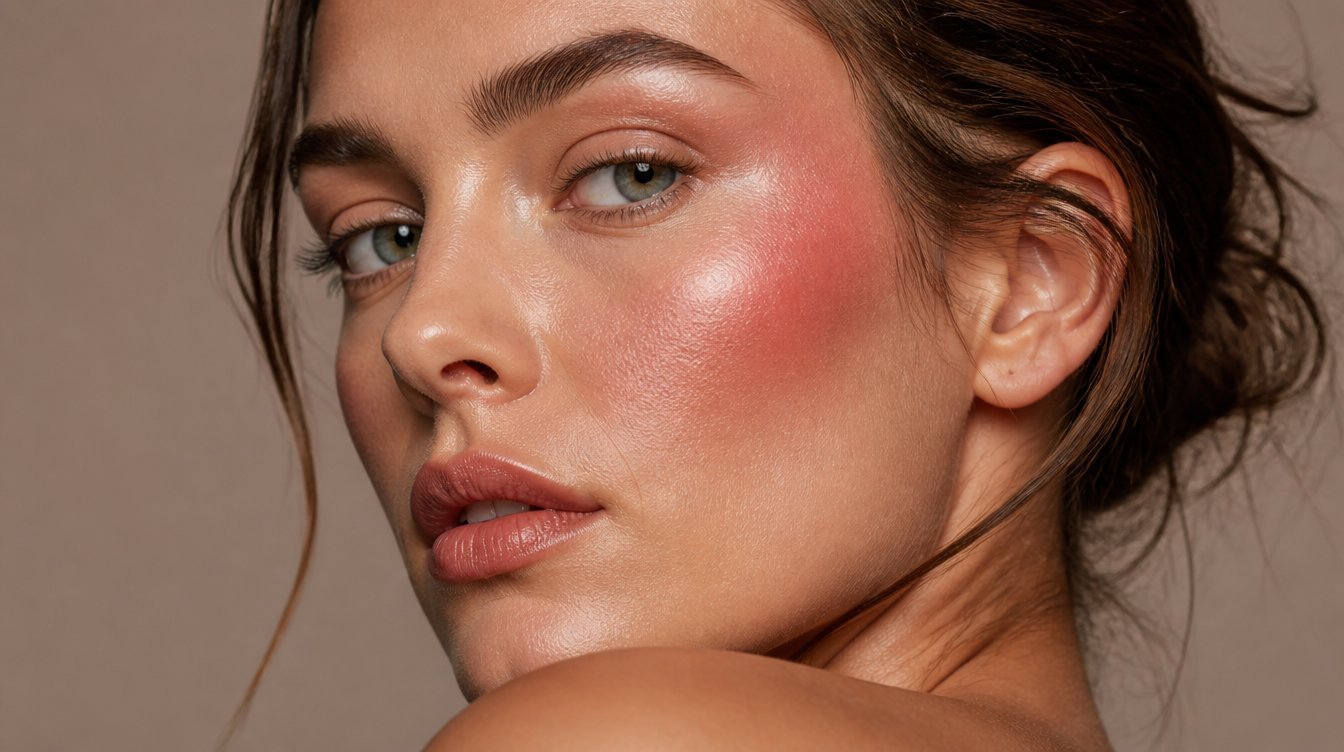
Blush draping is a placement technique, not a product. You take blush and drape it in a diagonal sweep that starts high on the cheekbone and travels up and out toward the temple and hairline. The colour sits higher and reaches further than a standard apples-of-the-cheeks application, which is what gives the face a lifted, sculpted look rather than a flat, round flush.
The term comes from the way the colour drapes across the upper face like a soft veil. Done well, it blurs the line between blush, contour, and highlight. The lower edge of the drape reads as a gentle contour under the cheekbone, the middle reads as colour, and the top edge near the temple catches light like a wash of warmth. One product, three jobs.
Why one product doing three jobs matters
Most people reach for blush, bronzer, and highlighter as three separate steps. Draping collapses that stack. When you place a single flattering shade in the right diagonal path, it sculpts and warms and lifts without the muddiness that comes from layering three formulas that were never meant to sit together. That efficiency is a large part of why the technique caught on so fast this year.
The 1980s Origin Story
Draping is not new. It was defined and popularised in the 1980s by makeup artist Way Bandy, who used blush across the entire upper cheek and out toward the temple to sculpt the face before contour powders were a mainstream idea. Studio and editorial artists of that decade used blush the way we now use bronzer, sweeping warmth across the face to build structure with colour alone.
The look faded through the 1990s and 2000s, when matte bronzer contour and a small, precise pop of blush on the apples took over. Draping sat quietly in old magazine spreads until a new generation of artists went looking for softer, warmer ways to sculpt a face. What they found was a technique that had solved the problem decades earlier.
What the old look got right
The original draping look prized softness and glow over sharp lines. There was no harsh grey contour, no stripe. Colour did the sculpting, so the finish always read as skin rather than makeup. That warmth is exactly the quality modern beauty is chasing again after years of heavy, chiselled contour.
Why Blush Draping Is Back in 2026
The revival lines up with a broader move away from heavy, sculpted, camera-ready faces toward soft, lit-from-within skin. Cream products, blurred edges, and warmth are in. Hard powder contour and matte everything are out. Blush draping fits that mood perfectly because it builds structure with colour instead of shadow.
Social platforms accelerated it. Short tutorials showing a single blush swept from cheek to temple rack up views because the transformation is fast and obvious, and the technique needs one product most people already own. The barrier to trying it is almost zero, which is catnip for a trend cycle.
The soft-sculpt movement
Beauty in 2026 rewards a face that looks lifted and healthy rather than carved. Draping delivers a lift at the temples and warmth across the cheek that reads as good skin and good rest, not as product. It is the makeup equivalent of the barrier-first, glow-first thinking that has taken over skincare.
It suits the no-makeup makeup crowd too
Even people who wear almost nothing on their face can drape. A single cream blush swept up the cheek gives structure and colour in one step, which is why draping shows up in both full editorial looks and five-minute everyday routines. The intensity scales; the technique does not change.
How Draping Differs From Regular Blush and From Contour
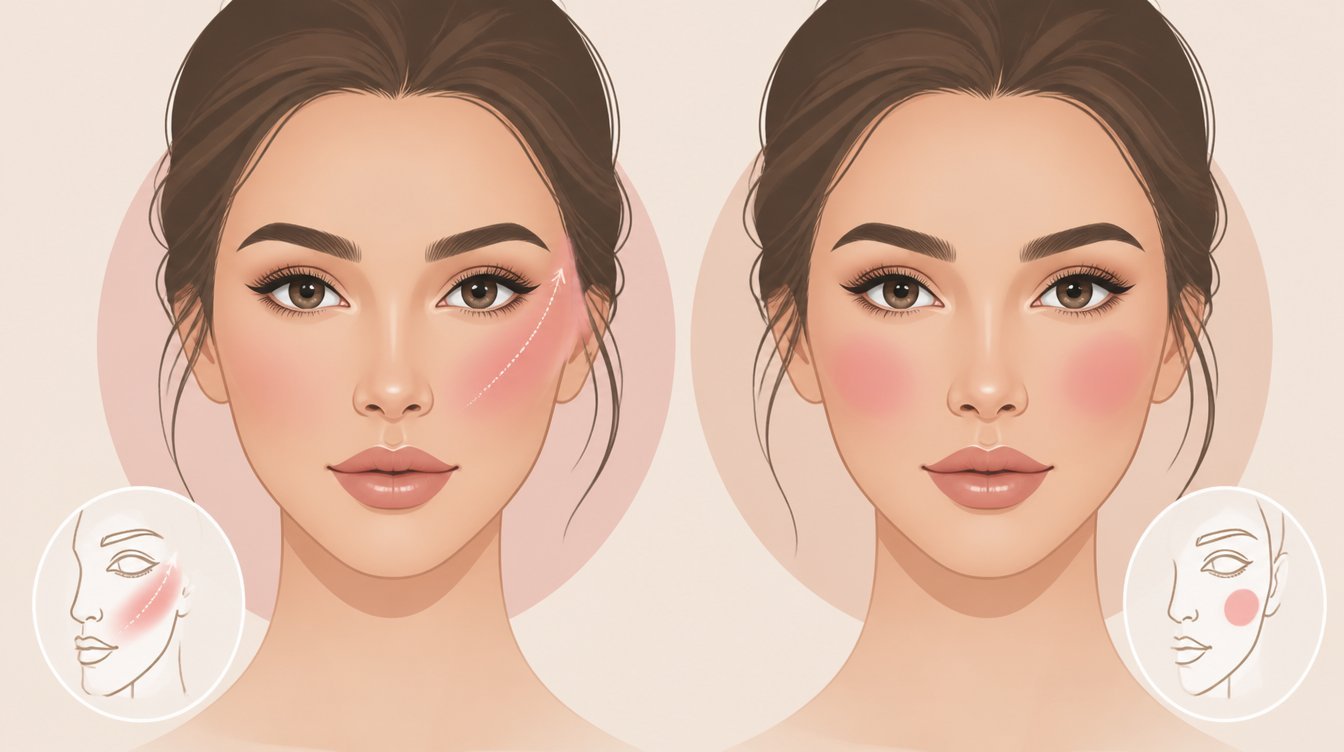
Draping gets confused with both ordinary blush and bronzer contour, but it does a different job from each. Regular blush adds a round pop of colour to the apples of the cheeks to mimic a natural flush. Bronzer contour adds a cool or neutral shadow under the cheekbone to fake depth and structure. Draping sits between them, using colour placed high and diagonally to do a little of both while staying soft.
| Feature | Regular Blush | Bronzer Contour | Blush Draping |
|---|---|---|---|
| Placement | Apples of the cheeks | Hollow under the cheekbone | Cheekbone up to the temple |
| Main goal | Add a flush of colour. | Carve shadow and depth | Lift, sculpt, and add colour. |
| Undertone used | Warm or cool color | Cool or neutral shadow | Warm to mid-colour, no gray |
| Finish | Round and localized | Defined and structural | Soft, diffused, diagonal |
| Products needed | One blush | One bronzer, often plus blush | One blush does it all |
The short version: blush colours, bronzer shadows, and draping lifts. If you want structure without a hard line and warmth without a separate bronzer, draping is the move.
How to Place Blush Draping by Face Shape
The direction and height of the drape should follow your face shape. The goal is always to pull the eye up and out, but where you start and stop shifts depending on your proportions. Below are the adjustments that matter most.
Round faces
Draping works beautifully on round faces because the upward diagonal sweep adds the length and angle the face lacks. Start the colour slightly higher on the cheekbone and pull it firmly toward the temple, keeping the lower edge away from the apples so you do not add roundness. Avoid dropping colour low or in the centre, which widens the face.
Long faces
Long faces want the drape kept more horizontal so it adds width rather than length. Place the colour across the cheekbone and blend outward toward the ear rather than steeply up toward the temple. A lower, wider drape balances a long face and stops it from looking even more elongated.
Heart faces
Heart-shaped faces, wider at the forehead and narrow at the chin, suit a drape that sits right on the cheekbone and sweeps back toward the temple to draw attention to the mid-face. Keep the intensity soft near the temples so you do not add weight to an already wider upper face.
Square faces
Square faces with a strong jaw look softer with a rounded, diffused drape that curves up toward the temple. Keep the edges blurred rather than sharp, and angle the sweep to draw the eye up and away from the corners of the jaw. The softness of draping is a natural fit for balancing angular bone structure.
Cream Versus Powder Draping Technique
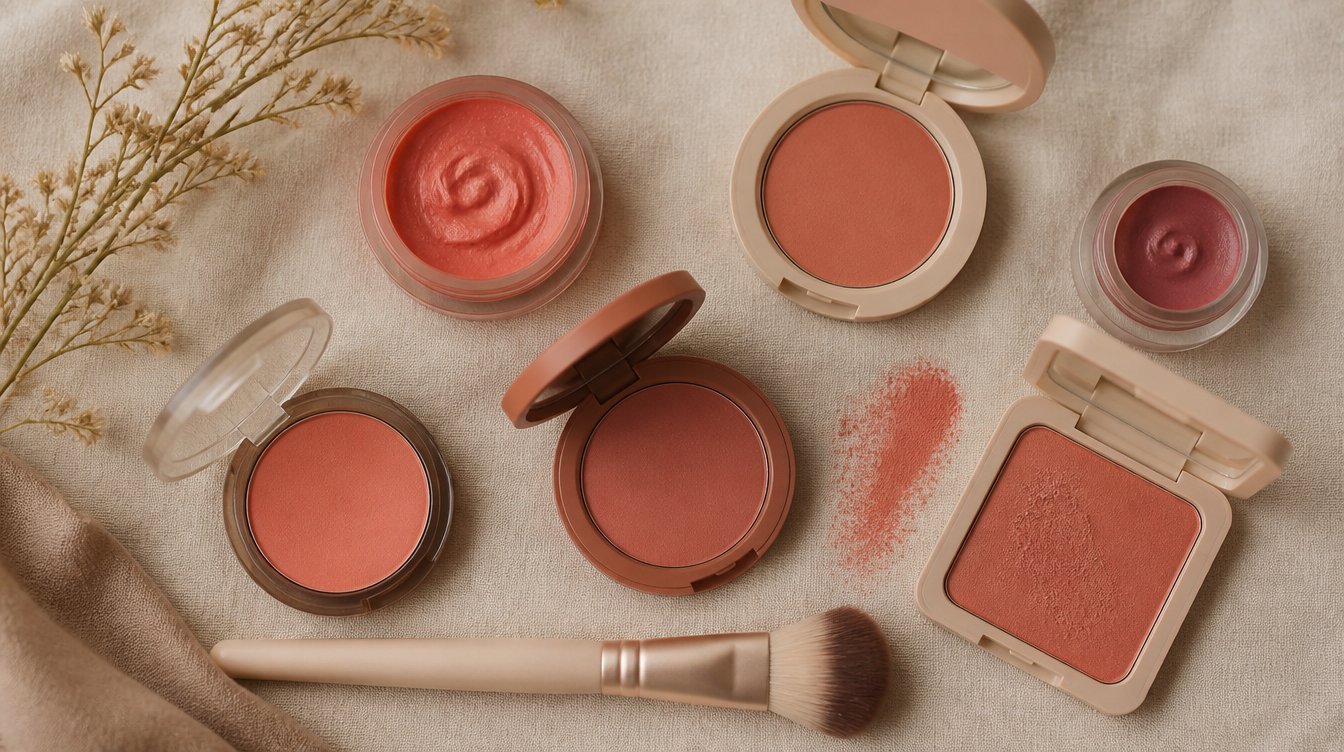
Both cream and powder work for draping, and the choice comes down to skin type and the finish you want. Cream gives a dewy, skin-like drape that melts into the face. Powder gives more control and a softer matte diffusion that is easier to build slowly.
Cream blush draping
Cream is the modern favourite because it reads as ‘glow’ rather than ‘makeup’. Apply it with fingers or a small, dense brush over a hydrated base, tapping and pressing the colour from cheekbone to temple. Cream draping suits normal to dry skin best and layers seamlessly over cream or liquid foundation. Build in thin passes, since cream is harder to sheer out once it grabs.
Powder blush draping
Powder is the more forgiving choice for beginners and for oily skin. Use a fluffy angled brush, tap off the excess, and sweep in light diagonal strokes, building colour gradually. Powder over a set base gives you room to correct placement before it looks final, which makes it ideal while you are still learning the angle.
Layering both
The longest-wearing, most ethereal result comes from a thin cream drape set with a matching powder drape on top. The cream grips the skin and gives depth; the powder locks it and extends the wear. This is the stack most makeup artists reach for on a shoot.
Choosing Blush Draping Shades by Skin Tone
Because draping covers more of the face than a small pop of blush, shade choice matters more. The wrong undertone spread across the whole upper cheek is far more obvious than a wrong dot on the apples. Match the shade to your skin depth and undertone.
- Fair skin: soft peach, cool rose, and muted apricot read natural without going ashy.
- Light to medium skin: warm coral, terracotta, and rosy peach give a healthy lift.
- Medium to tan skin: brick, warm rose, and true terracotta hold up against the depth of the skin.
- Deep skin: rich berry, warm brick, bright coral, and deep bronze-rose read vivid and luminous rather than dusty.
The rule that saves most looks: pick a shade one or two steps warmer and more saturated than you think you need, because spread across a larger area, it will read softer than it does in the pan.
Undertone quick check
If your skin leans warm, terracotta, coral, and brick will glow. If it leans cool, rose, berry, and muted pink sit more naturally. Neutral skin can wear both, so choose by the outfit and the mood rather than by rule.
Step-by-Step Blush Draping
You do not need special tools or a huge collection. One flattering blush, a brush or your fingers, and a mirror in good light are enough. The full process takes about three minutes once you know the path.
- Prep skin with your usual base so the drape has a smooth surface to grip.
- Locate the top of your cheekbone by smiling gently, then finding the high point.
- Load a small amount of product and tap off any excess so your first pass is light.
- Place colour at the high point of the cheekbone and sweep it up and out toward the temple.
- Blend the lower edge softly so there is no visible line under the cheekbone.
- Build a second thin pass only if you want more intensity, keeping the diagonal angle.
- Diffuse the top edge near the temple so the drape fades into the hairline.
Work one cheek at a time until you are comfortable, then match the second side by eye. Symmetry matters more with draping than with a small pop of blush because the colour travels further.
Where beginners go wrong on placement
The most common beginner error is starting the drape too low, near the apples, which pulls the face down instead of up. Start high, on the bone, and always sweep toward the temple. If in doubt, aim the tail of the drape at the top of your ear.
Day Versus Editorial Intensity
Draping scales cleanly from barely there to full editorial. The placement stays identical; only the amount of product and the boldness of the shade change. That single-technique-many-intensities quality is why it works for both a school run and a magazine cover.
Everyday draping
For daytime, use a soft shade and one light pass. The goal is a lifted, healthy warmth that looks like good skin and good sleep. Keep the edges blurred and the colour low in saturation so nobody can tell where skin ends and product begins.
Editorial and evening draping
For a bolder look, choose a saturated shade, build two or three passes, and carry the colour higher toward the temple and even lightly onto the eyelid for a monochrome effect. Add a touch of highlighter on top of the drape at the cheekbone for the glossy, sculpted finish seen on runways this year.
The monochrome extension
A popular 2026 variation carries the same draping shade up onto the lids and lightly onto the lips for a tonal, pulled-together face. It is the fastest way to look intentional with a single product, and it photographs beautifully.
Common Blush Draping Mistakes
Because the colour covers more of the face, mistakes show up faster than with ordinary blush. Three errors account for almost every draping look that goes wrong, and all three are easy to fix once you know them.
- Placing the drape too high, so it floats near the eye and reads as sunburn rather than sculpt.
- Using too much product, so the wash turns into a heavy stripe that overwhelms the face.
- Choosing the wrong undertone, so a large area of the cheek reads ashy or muddy.
The fix for all three is restraint and correct starting height. Begin on the cheekbone, use less product than feels right, build slowly, and match the undertone to your skin. A drape that goes wrong is almost always too high, too much, or the wrong shade.
How to correct a drape that went too far
If the colour is too intense, do not wipe it off and start over. Press a clean fingertip or a little foundation over the top to sheer and soften it. To fix placement that sits too high, blend the colour downward and outward toward the ear until the float disappears. Draping is forgiving as long as you correct with blending rather than removal.
Making Blush Draping Last
Because a drape covers a larger surface, fading shows more than a small pop would. A hydrated but not greasy base helps cream draping grip. Setting a cream drape with a matching powder locks the colour and extends the wear through a long day. A light mist of setting spray over the finished look melts the layers together and stops the drape from separating into patches by afternoon.
Frequently Asked Questions About Blush Draping
What exactly is blush draping?
Blush draping is a placement technique where blush is swept up and out from the cheekbone toward the temple in a soft diagonal, rather than dotted on the apples of the cheeks. That higher, angled placement lifts and sculpts the face while adding a wash of colour, so one product acts as blush, soft contour, and a hint of highlight at once. It was defined in the 1980s and revived in 2026 as part of the move toward soft, warm, glow-first makeup instead of hard powder contour.
How is blush draping different from bronzer contouring?
Bronzer contour uses a cool or neutral shadow placed in the hollow under the cheekbone to fake depth and carve structure. Blush draping uses warm- to mid-tone colours placed on and above the cheekbone, sweeping toward the temple, to lift and warm the face rather than to shadow it. Contour reads as defined and structural, while draping reads as soft, diffused, and diagonal. Draping also needs only one product, whereas contouring often pairs bronzer with a separate blush.
Does blush draping work on round faces?
Yes, round faces are one of the best matches for draping. The upward diagonal sweep from cheekbone to temple adds length and angle that a round face naturally lacks, which creates the illusion of lift and structure. Start the colour slightly higher on the cheekbone, pull it firmly toward the temple, and keep it away from the apples so you do not add roundness. Avoid placing colour low or in the centre of the cheek, since that widens rather than lengthens the face.
Should I use cream or powder for blush draping?
Both work, and the choice depends on your skin and skill level. Cream blush gives a dewy, skin-like drape that suits normal to dry skin and layers seamlessly over liquid foundation, but it grabs quickly, so build in thin passes. Powder is more forgiving and easier to correct while you learn the angle, and it suits oily skin better. For the longest wear, apply a thin cream drape first, then set it with a matching powder drape on top for depth and staying power.
What blush shade should I use for draping?
Because draping covers more of the cheek than ordinary blush, undertone matters more. Fair skin suits soft peach, cool rose, and muted apricot. Light to medium skin glows in warm coral, terracotta, and rosy peach. Medium- to tan-skinned people hold true to terracotta, brick, and warm rose. Deep skin looks luminous in rich berry, warm brick, bright coral, and deep bronze-rose. As a rule, choose a shade one or two steps warmer and more saturated than you think you need, because spread over a larger area, it reads softer than it looks in the pan.
What are the most common blush-draping mistakes?
The three most common errors are placing the drape too high so it floats near the eye and looks like sunburn, using too much product so the soft wash becomes a heavy stripe, and choosing the wrong undertone so a large area of cheek reads ashy or muddy. All three come down to restraint and starting height. Begin on the cheekbone rather than up near the eye; use less product than feels right and build slowly; and match the shade to your undertone. Correct a heavy drape by pressing foundation over the top rather than wiping it off.
RELATED ARTICLES:
- Under-Eye Blush: The Placement Trick That Fakes a Full Night’s Sleep
- Sunburn Blush: How to Get the Flushed Look Without the Damage
- Contouring and Bronzing: The 2026 Guide to Soft Sculpted Skin
About The Author

COMMENTS