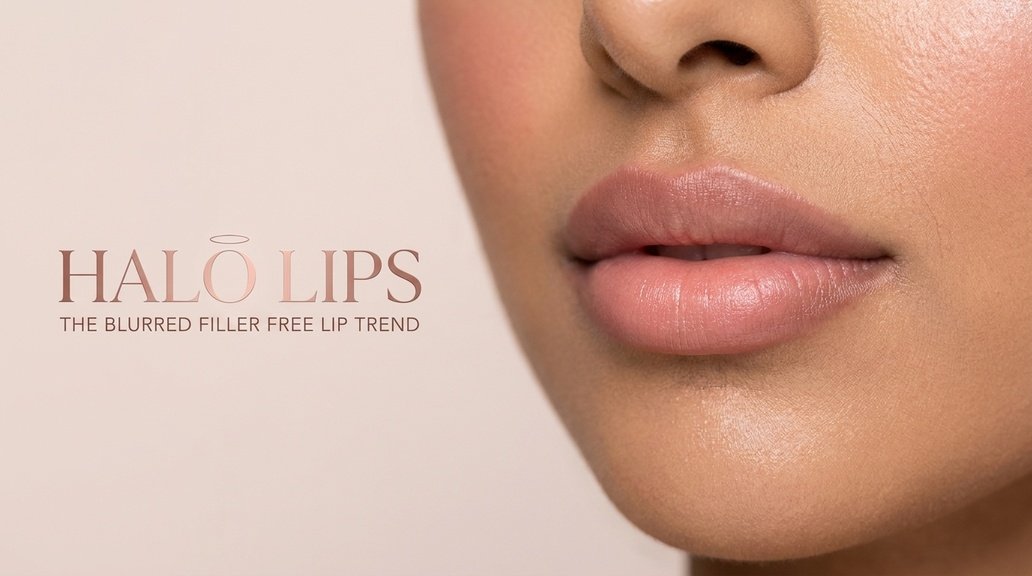
Halo lips are the lip look that quietly took over 2026, and the trick behind them is optical rather than injectable. Also called the 'blurred lip' or
Halo lips are the lip look that quietly took over 2026, and the trick behind them is optical rather than injectable. Also called the ‘blurred lip’ or the ‘spotlight lip’, a halo lip places a lighter shade in the centre of the mouth and a deeper shade at the outer corners, then blends the two until there is no visible line between them. That single move fakes a fuller, plumper pout without filler because the eye reads the bright centre as the highest point of the lip. It flatters thin lips, evens out uneven ones, and gives full lips a soft-focus finish. This guide covers what a halo lip actually is, why it spread so fast this year, how it differs from an ombre lip and a classic lined lip, a clean step-by-step, the best product textures, placement for different lip shapes, and the mistakes that give the look away.
Reviewed by the BeautynFacts editorial team. Last updated: July 2026.
What a hollow lip! Actually Is
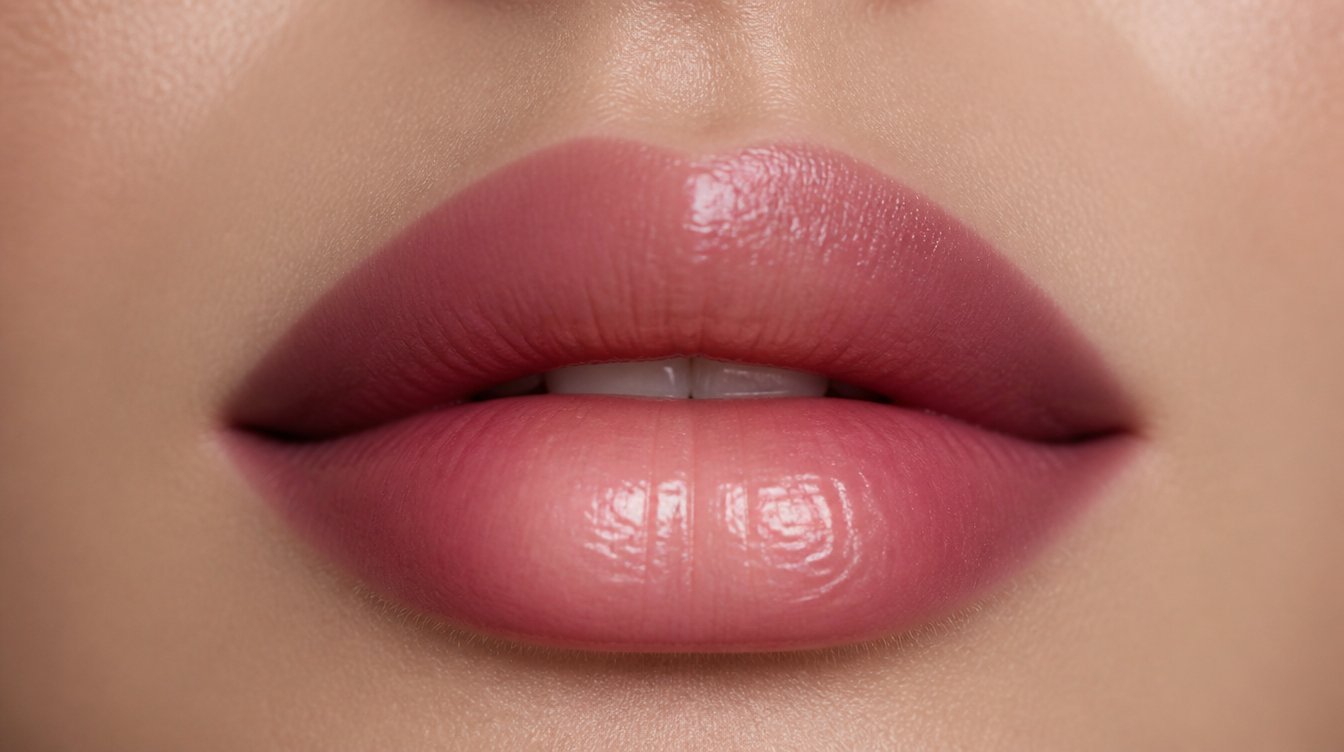
A halo lip is a two-tone blend built on one idea: light comes forward, dark recedes. You place a lighter, brighter shade in the very centre of both lips, keep a deeper shade at the outer corners, and diffuse the border until the two melt together. Done well, there is no stripe, no obvious ring, just a soft glow that sits highest in the middle of the mouth.
The name comes from that central glow. The lighter core acts like a halo of light, the way a highlighter on the cheekbone catches the eye. Your brain assumes the brightest part of any surface is the closest part, so a bright lip centre reads as a lip that projects further forward. That is the whole illusion, and it works on camera and in person.
Why the illusion reads as fuller lips
Real lip volume shows up as a highlight in the centre where the lip curves out most. A halo lip pencil copies that highlight on purpose. It also keeps the corners darker, which the eye reads as shadow, and shadow at the edges makes the middle look like it pushes forward. A light centre plus a dark edge is the same trick painters use to make a flat circle look like a sphere.
Why Halo Lips Took Over 2026
Several things lined up at once. The wider beauty mood this year moved away from heavy, obvious makeup toward soft, blurred, skin-like finishes, and a diffused lip fits that mood better than a sharply lined one. At the same time, more people started looking for lip results that do not involve a needle, and a halo lip is the clearest example of a no-filler plumping method that costs nothing but two shades and a minute of blending.
The look also films well. Short-form video rewards anything that reads instantly on camera, and the centre highlight of a halo lip catches light in a way that survives compression and front-facing lenses. Creators picked it up as a quick, repeatable technique, and the before-and-after nature of it, from thin, flat lip to soft, full lip, made it easy to demonstrate in a few seconds.
The soft, blurred finish everyone wants
The blurred lip belongs to the same family as the blurred blush and the diffused brow that defined the year. All three trade crisp edges for a lived-in softness. A halo lip is the mouth version of that idea, which is part of why it did not feel like a novelty. It slotted into a look people were already reaching for.
It works with what you already own
You do not need a special product. Two lipsticks, or a liner and a gloss, or a lip pencil and a lighter balm, are enough. That low barrier is a big reason the trend scaled. Anyone with two shades in the same family can try it in under a minute.
Halo Lip Versus Ombre Lip Versus Classic Lined Lips
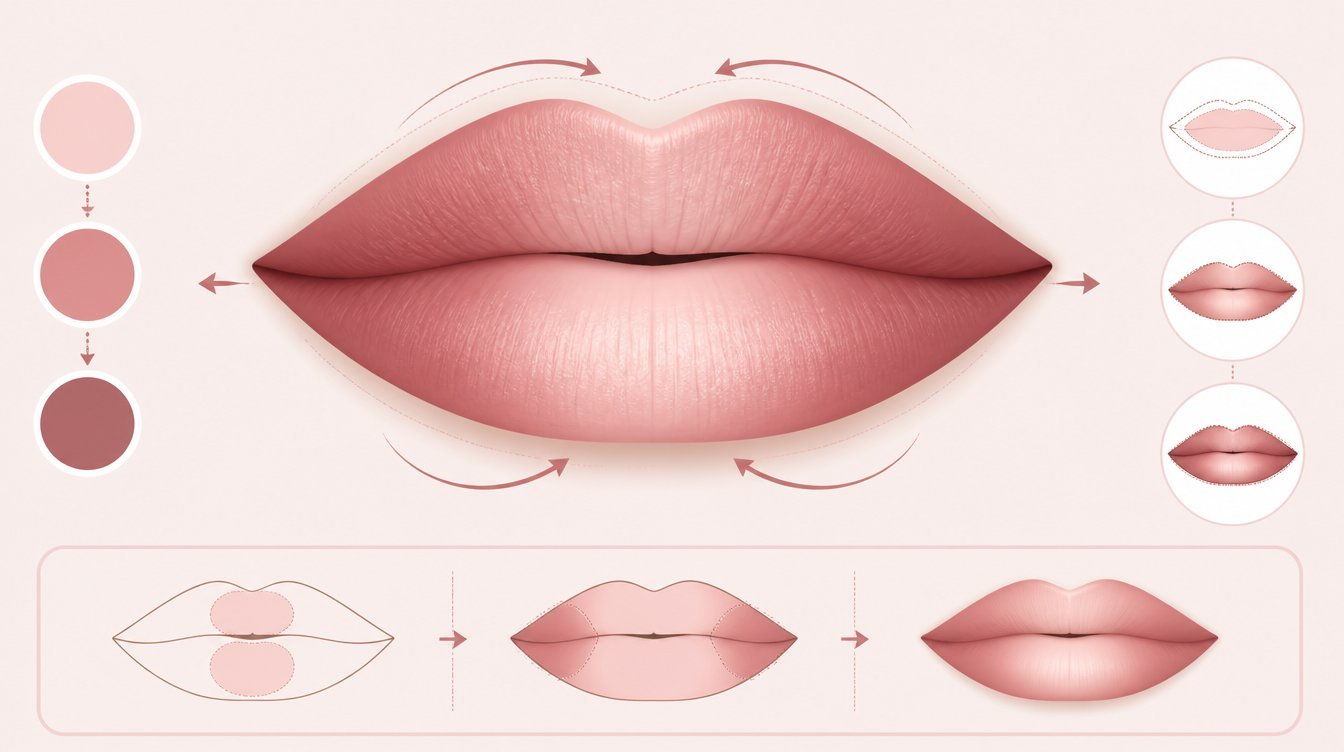
These three get grouped together because all of them use more than one shade, but they place colour in different spots and send different signals. The halo lip lightens the centre. The ombre lip usually darkens the outer edge and fades inward, often from top to bottom. The classic lined lip draws a defined border and fills it with one colour. Knowing the difference stops you from asking for the wrong thing or blending toward a look you did not want.
| Feature | Halo Lip | Ombré Lip | Classic Lined Lip |
|---|---|---|---|
| Where the light sits | Bright center core | The centre is often darker or even | Even across the whole lip |
| Edge finish | Soft, blurred, no line | Diffused gradient at edges | Sharp, defined border |
| Main effect | Fuller, plumper center | Depth and dimension | Precision and definition |
| Best shade gap | Two shades of one family | Light to deep of one family | Single shade, matched liner |
| Reads as | Soft focus, no filler | Editorial, sculpted | Polished, classic |
The short version: a halo lip is the only one of the three built specifically to fake volume through a centre highlight. An ombre lip adds drama and depth, and a classic lined lip adds precision. If your goal is a plumper-looking mouth without filler, the halo is the technique to reach for.
How to Do a Halo Lip Step by Step
The technique is forgiving once you understand the order. Work from the outside in, keep every layer thin, and blend before anything sets. Here is the sequence that gives the cleanest result.
- Prep the lips. Exfoliate gently, then press in a thin layer of balm and let it sink in for a minute so the colour glides instead of dragging.
- Define the outer corners. Use the deeper shade on the outer thirds of both lips, top and bottom, staying off the very centre.
- Place the centre. Dab the lighter shade on the middle of the top and bottom lip, right where the lips curve out most.
- Blend the border. Use a fingertip or a small brush to melt the two shades into each other with light taps, never a hard swipe.
- Add the highlight. Press a touch of gloss or a lighter cream over the centre to lift it forward.
- Clean the edges. Tidy the outer line with a little concealer on a flat brush so the whole shape reads intentional.
The blending step is where the look is won or lost. Tap, do not drag. Dragging pulls the dark shade into the centre and kills the glow you just built.
The blend is the whole thing
If you take one idea away, make it this: there should be no point where you can say the light stops and the dark begins. Blend in tiny circles or gentle taps until the transition is a fade, not an edge. A clean fade is what separates a halo lip from a two-tone mistake.
The Best Product Textures for a Halo Lip
Texture matters more than brand here, because the blend depends on how long the product stays workable. Creams and satins give you time. Hard mattes set fast and fight the blend. Match your two shades in the same finish family so one does not sit oddly on top of the other.
Creams and satins blend best
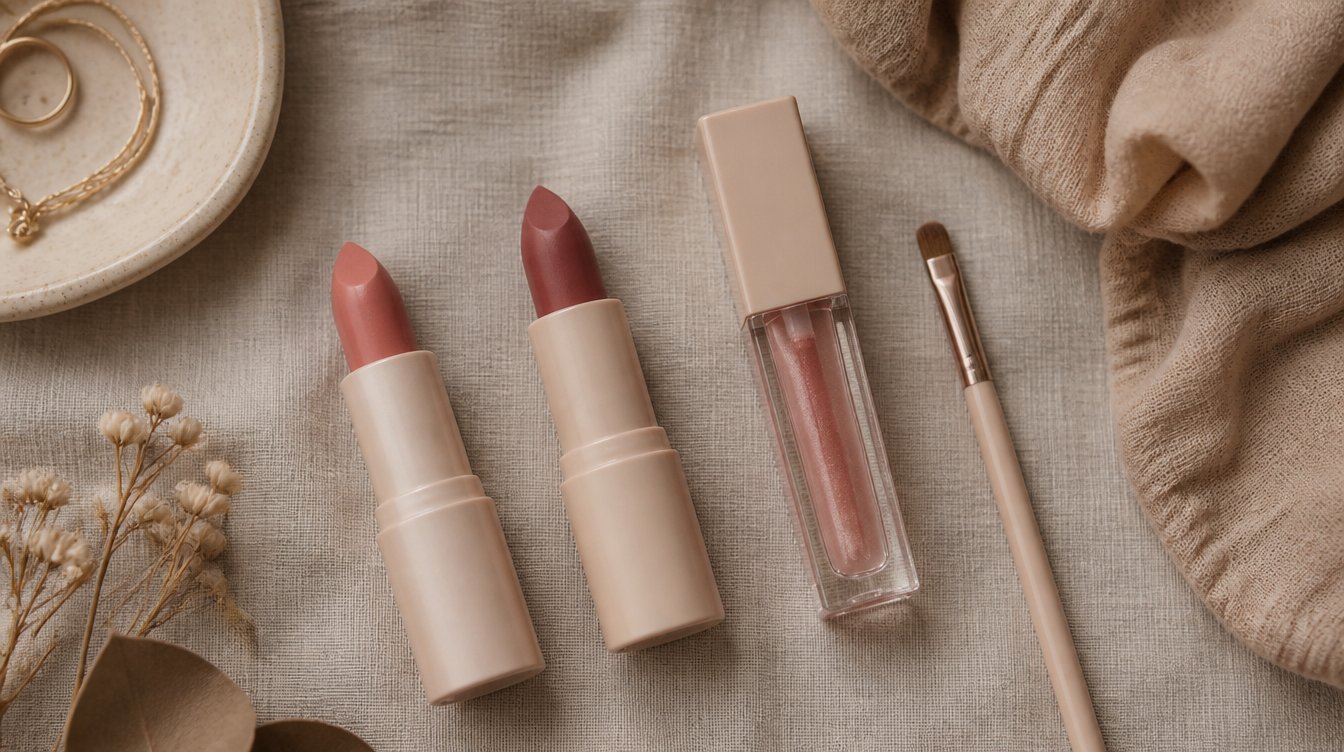
A creamy or satin lipstick stays movable for long enough to melt two shades together with a fingertip. This is the easiest texture for beginners and the most forgiving on dry lips. If you are new to the look, start here.
Liners plus gloss for a modern finish
A deeper lip liner on the corners with a lighter gloss in the centre gives a fresh, glassy version of the halo. The gloss doubles as the centre highlight, so the look comes together in fewer steps. It suits daywear and photographs cleanly.
Where matters fit
Traditional liquid mattes set too quickly to blend by hand, but a soft matte or a blurring mousse can work if you move fast and blend before it locks. If you love a matte finish, choose a blurring formula rather than a long-wear liquid, and keep the centre brighter to hold the glow.
How to Place a Halo Lip for Different Lip Shapes
The base technique stays the same, but where you concentrate the light changes with your natural shape. The goal is always to draw the eye toward the centre and to soften whatever feels uneven.
Thin lips
For thin lips, keep the deeper shade very light at the corners and push the bright centre a fraction beyond your natural line, staying subtle so it still reads as skin. A slightly larger highlight zone in the middle does the most work here. A glossy centre adds the most apparent volume, so finish with a clear or light gloss rather than a matte.
Full lips
Full lips do not need extra size, so use the halo for shape and softness instead. Keep the contrast between the two shades gentle, and let the centre highlight sit small and precise. This gives a soft-focus, expensive-looking finish without tipping into an overdrawn look.
Uneven lips
If one lip is fuller than the other, or the shape is slightly off, the halo is a quiet corrector. Place a touch more of the light shade on the thinner side or the flatter spot to balance the two, and keep the darker corners even. The blurred edge hides small asymmetries that a sharp-lined lip would only highlight.
How to Make a Halo Lip Last
A blended look can shift as the day goes on, so a little structure keeps it in place. The aim is to lock the shape without losing the soft finish.
- Start with a thin base of lip liner over the whole lip to give the colour something to grip.
- Blot the first layer with a tissue, then reapply, so the pigment sits in the lip rather than only on top.
- Keep gloss for the centre only, since a full-lip gloss slides and blurs the shape faster.
- Carry the lighter centre shade for touch-ups, because the middle fades first with eating and drinking.
- Set the outer edge lightly with a translucent powder through a folded tissue if you need all-day hold.
The centre will always wear before the corners, which is normal. A quick dab of the light shade in the middle rebuilds the whole illusion in seconds.
Halo Lips for Day Versus Evening
The same technique flexes from barely there to bold depending on your shade gap and finish. You do not need two different methods, only two different intensities.
The daytime halo
For the day, choose two soft shades close together, a my-lips-but-better base with a slightly lighter centre, and finish with a sheer gloss. The contrast should be quiet enough that people notice a fuller mouth without spotting the technique. This is the version that reads as good lips rather than good makeup.
The evening halo
For the evening, widen the gap between the two shades and deepen the corners. A berry or brown edge with a lighter rose or nude centre gives a sculpted, high-impact mouth under low light. Add a stronger centre highlight, and set the edges so the shape survives dinner and drinks.
Common Halo Lip Mistakes
Almost every failed halo lip comes down to a handful of fixable errors. Knowing them in advance is faster than fixing them after.
The most common is a visible line where the two shades meet. That is a blending problem, not a colour problem, and the fix is to tap the border softer until the transition disappears. The second is clashing shades. The two colours must sit in the same family, warm with warm or cool with cool, or the centre looks pasted on instead of glowing. The third is skipping prep. Dry, flaky lips grab pigment unevenly and make blending impossible, so the balm-and-exfoliate step is not optional. A fourth quiet mistake is over-glossing the whole lip, which floods the shape and erases the halo you just built.
Fixing a halo lip that went wrong
If the look reads harsh, do not start over. Run a clean fingertip over the border to soften it, add a little of the light shade back into the centre, and remove any excess gloss from the outer lip with a folded tissue. Small corrections usually rescue the whole thing.
Is a Halo Lip Right for You
A halo lip suits almost anyone who wants a fuller-looking mouth without committing to filler, and it is especially useful for thin or uneven lips. It rewards a minute of blending, so it fits people who enjoy the technique or want a quick upgrade over a single swipe of colour. If you prefer a sharp, defined lip or have very little time, a classic lined lip may suit you better. For everyone else, it is one of the lowest-effort, highest-payoff lip looks of the year.
How Long Halo Lips Will Stay Relevant
Techniques that flatter a wide range of faces and use products people already own tend to outlast a single season. The halo lip has both traits, plus it sits inside the larger, soft, blurred, no-filler direction that is shaping beauty right now. Expect it to stay a default lip technique through the rest of 2026 and carry into the next year, evolving into glossier and more matte variations rather than fading out. It is worth learning the blend once because the skill transfers to whatever shade direction comes next.
Frequently Asked Questions About Halo Lips
What are halo lips?
Halo lips are a two-tone lip technique that places a lighter shade in the centre of the mouth and a deeper shade at the outer corners, blended until there is no visible line. Also called the ‘blurred’ or ‘spotlight’ lip, the look uses light and shadow to fake a fuller, plumper centre without filler. The bright core reads as the highest point of the lip, so the mouth appears to project forward. It flatters thin lips, softens full ones, and quietly evens out uneven shapes.
How are halo lips different from an ombré lip?
The key difference is where the light sits. A halo lip brightens the centre to fake volume, keeping the outer corners darker as soft shadow. An ombre lip usually does the opposite emphasis, darkening the outer edge and fading it inward for depth and drama rather than a plumping illusion. Both use more than one shade, and both can look blended, but the halo is built to make the middle of the lip come forward, while the ombre is built to add dimension and a sculpted, editorial finish.
Do halo lips actually make lips look bigger?
Yes, through an optical trick rather than any real change in size. Your eye reads the brightest part of a surface as the closest part, so a lighter, glossier centre makes the middle of the lip appear to project forward. Keeping the corners deeper adds shadow that pushes the centre out further by contrast. The effect is strongest with a glossy centre on thin lips and more subtle on already full lips. It does not add lasting volume, but on camera and in person the mouth looks fuller.
What products do I need for halo lips?
You do not need anything special. Two shades in the same finish family are enough, such as two lipsticks, a lip liner plus a lighter gloss, or a deeper pencil with a lighter balm. Creamy and satin textures blend most easily because they stay workable, while hard liquid mattes set too fast to melt together by hand. A clear or light gloss for the centre helps sell the plumping highlight. Most people already own everything a halo lip requires.
How do I stop the shades from clashing?
Keep both shades in the same temperature family, warm with warm or cool with cool, and choose two colours that sit close together rather than opposite. A deeper and lighter version of the same rose, nude, or berry will always blend cleanly, while a cool centre over a warm edge looks pasted on. Match the finish too, so a satin centre sits on a satin edge rather than on a flat matt. When in doubt, pick one lipstick and a slightly lighter or glossier version of it.
How long do halo lips last?
A halo lip lasts about as long as your base products, usually a few hours before the centre starts to fade. The middle wears first from eating and drinking, which is normal, and a quick dab of the lighter centre shade rebuilds the whole illusion in seconds. To stretch the wear, start with a thin layer of liner over the full lip, blot and reapply the colour, and keep gloss to the centre only. Setting the outer edge lightly with translucent powder helps it hold through an evening.
RELATED ARTICLES:
- Is Lip Plumper the Next Big Thing? What Actually Works
- Lip Oils vs Lip Gloss: Which One Belongs in Your Bag
- Peptide Lip Liner: The Treatment-Meets-Color Hybrid Explained
About The Author

COMMENTS